

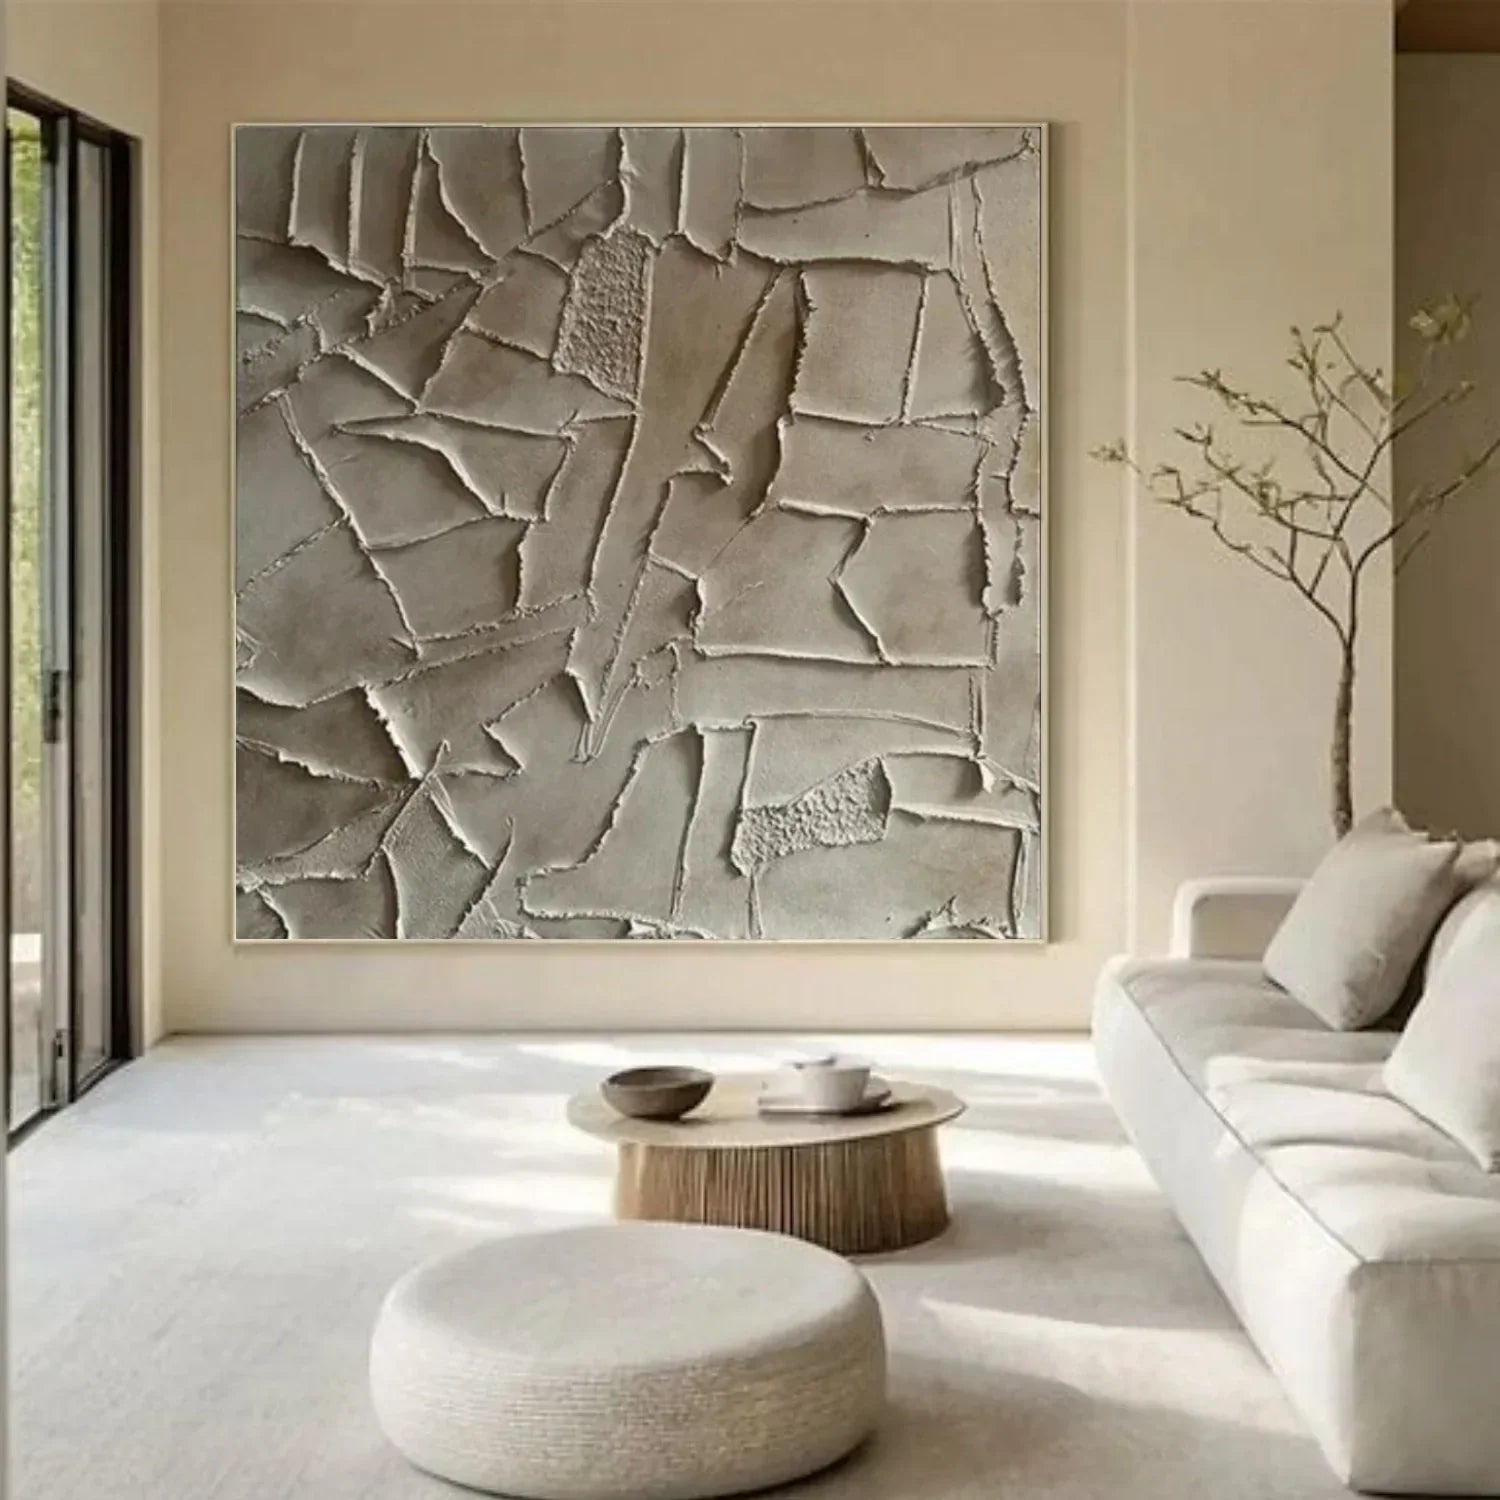
Textured art has taken the interior design world by storm. From chunky plaster strokes to delicate sand effects, three-dimensional paintings add a tactile, organic feel that flat prints simply cannot replicate. The best part? You don’t need to be a professional painter to create stunning textured art on canvas.
In this guide, you’ll learn exactly how to make textured art on canvas using affordable materials, easy techniques, and professional tips to achieve gallery-worthy results.
Why Textured Wall Art Is So Popular
There are several reasons textured wall art has become a huge trend in interior design.
Adds Depth to a Space
Flat artwork can sometimes disappear into the background. Texture creates shadows and highlights that make the piece stand out on the wall.
Handmade Feel
Even simple textured paintings feel unique because every ridge and brushstroke is slightly different.
Works With Modern Decor
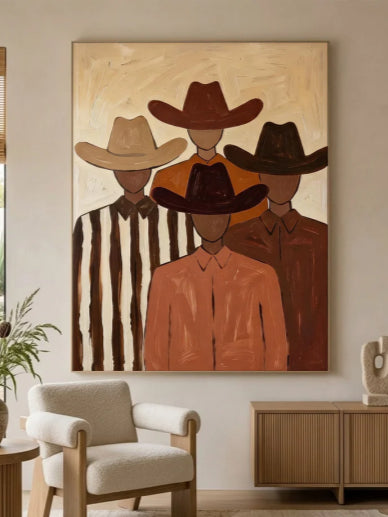
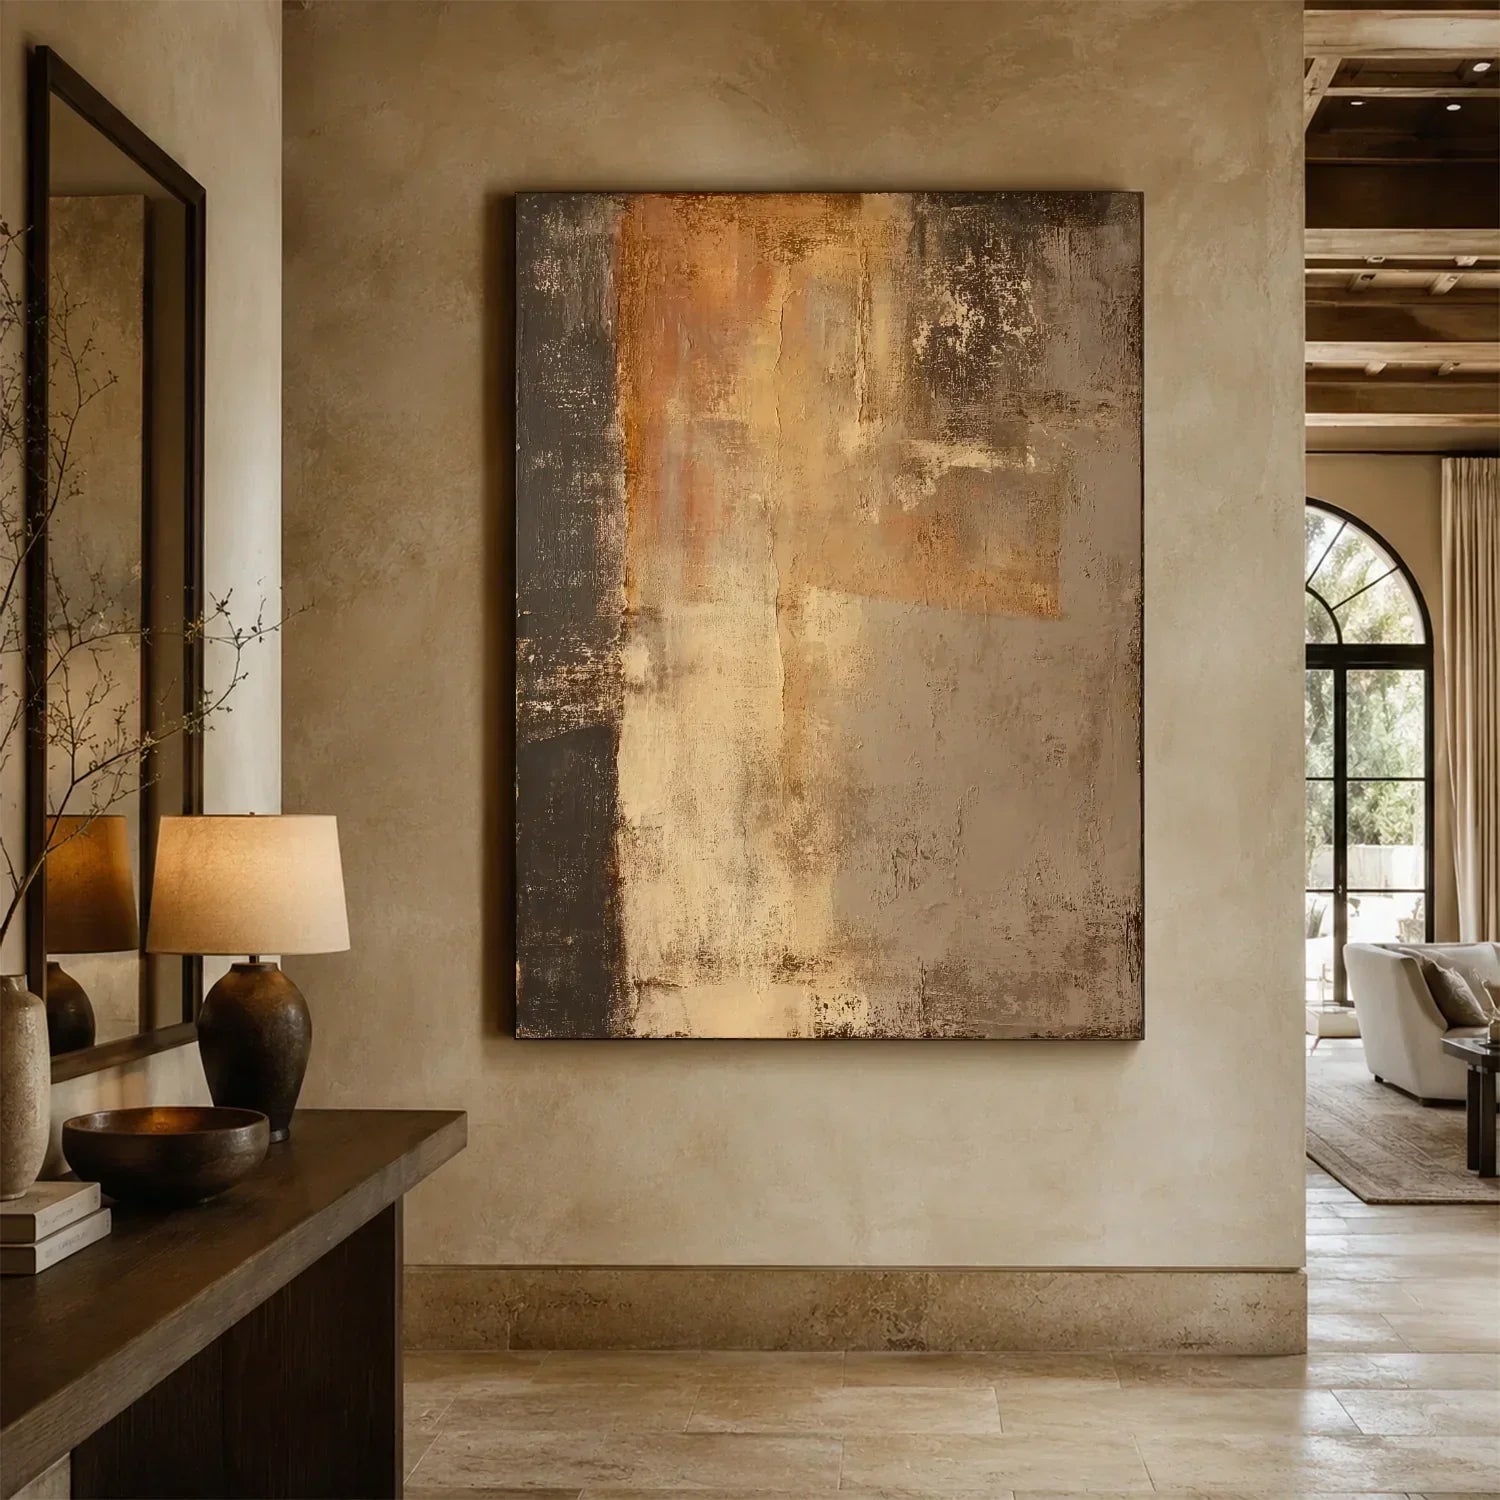
Neutral textured art pairs beautifully with modern furniture, natural wood, linen fabrics, and earthy color palettes.
Beginner-Friendly
Unlike realistic painting styles, abstract textured art does not require advanced drawing skills. Beginners can experiment freely without worrying about perfection.

Materials You Need for Textured Art
Before diving into techniques, gather these supplies:
- Stretched canvas (any size; 16”x20” is great for practice)
- Acrylic paints (heavy-body or fluid both work)
- Texture mediums (modeling paste, light molding paste, or texture gel)
- Palette knives (various sizes)
- Brushes (old or stiff-bristled brushes work best)
- Optional additives: Sand, crushed eggshells, coffee grounds, cheesecloth, or pumice gel
- Drop cloth or old newspapers
- Acrylic primer/gesso (if adding heavy weight)
Choosing the Right Canvas
The size and type of canvas can change the final look of your artwork.
- Small Canvases:Great for practice and experimenting with techniques.
- Large Canvases:Perfect for statement wall art pieces in living rooms or bedrooms.
- Gallery-Wrapped Canvas:These thicker canvases look more professional and are ideal for modern textured wall art.
If you are new to textured painting, starting with a medium-sized canvas is often the easiest option.

How to Make Textured Art on Canvas
Step 1: Prepare Your Canvas Surface
While pre-primed canvases are ready to use, adding an extra layer of gesso improves adhesion for heavy texture. Apply a thin coat of gesso with a wide brush and let it dry completely. For extremely thick texture, you can even mix sand or small beads directly into the gesso before applying.
Step 2: Choose Your Texture Medium
The type of medium determines your final look:
|
Medium |
Best For |
Drying Time |
|
Modeling paste |
Thick, sculptural peaks |
1-2 hours |
|
Light molding paste |
Softer, subtle texture |
30-60 minutes |
|
Texture gel |
Crackle effects or smooth ridges |
1 hour |
|
Pumice gel |
Gritty, stone-like finish |
1-2 hours |
For absolute beginners, light molding paste is the most forgiving choice.
Step 3: Apply the First Layer of Texture
Using a palette knife, scoop a generous amount of your chosen medium onto the canvas. Spread it evenly or leave it intentionally uneven—there’s no wrong way.
Popular Application Techniques:
- Straight lines: Drag a notched trowel or comb through wet paste
- Circular swirls: Use a small palette knife to create spiral patterns
- Random peaks: Dab the paste with a stiff brush or crumpled paper
- Layered fabric: Press cheesecloth or lace into the wet medium, then pull away carefully
Let this base layer dry completely before adding color. Rushing this step causes cracking.
Step 4: Add Color to Your Texture
Once the texture is dry, you have two options for adding color:
Option A: Tint the Medium Before Application
Mix acrylic paint directly into the texture medium before applying. This creates uniform color throughout the peaks and valleys.
Option B: Paint Over Dry Texture
Use a dry brush technique to highlight raised areas. Load a stiff brush with a small amount of paint, wipe most of it off on a paper towel, then lightly drag it over the surface. This leaves recessed areas darker, emphasizing the three-dimensional effect.
For an ombré or gradient effect, apply two or three complementary colors using a clean palette knife for each shade.
Step 5: Create Depth with Glazing
After the first color layer dries, apply a thin glaze (acrylic paint mixed with glazing liquid or water) over the entire canvas. Wipe away excess with a rag. The glaze settles into crevices, adding instant depth and age.
Step 6: Seal and Protect Your Artwork
Textured art is more fragile than flat paintings. Once fully dry (wait at least 24-48 hours), apply a clear acrylic sealer. Use a spray sealer for light textures or brush-on varnish for heavy paste. Two thin coats are better than one thick coat.
Warning: Never use regular spray varnish on soft modeling paste—it can dissolve the peaks. Always check product compatibility.
6 Stunning Textured Art Ideas to Try
- Mineral Stone EffectMix pumice gel with gray and white paint. Dab randomly with a natural sponge.
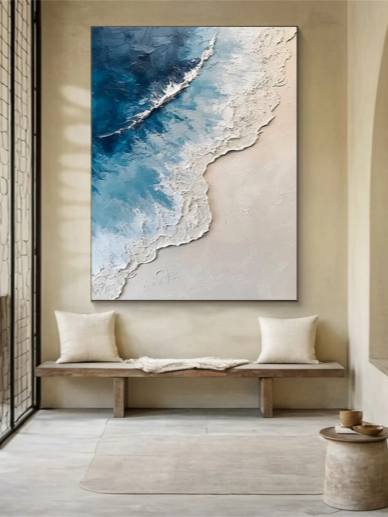
- Ocean WavesApply modeling paste with a palette knife in sweeping curves. Paint with blue and turquoise washes.
- Linen TexturePress a piece of coarse linen into wet gesso. Remove carefully and paint with a single color.
- Gold Leaf AccentsCreate raised swirls with molding paste. After drying, apply adhesive and add imitation gold leaf flakes.
- Abstract GeometricUse masking tape to create sharp lines. Apply thick paste between tape strips, then remove tape while paste is still wet.
- Recycled TextureMix dried coffee grounds or crushed eggshells into white glue. Spread onto canvas and paint over once dry.
How to Clean and Maintain Textured Canvas Art
Dust textured art with a soft, dry paintbrush or a hairdryer on cool, low setting. Never use wet cloths or cleaning sprays. If displayed in a kitchen, consider framing behind glass to prevent grease absorption.

Common Mistakes Beginners Should Avoid
Applying Texture Too Thin
One common mistake is applying the texture paste too thinly on the canvas. While it may look visible when wet, thin layers often shrink or flatten after drying, reducing the 3D effect. To avoid this, build up the texture gradually and use a palette knife to create enough depth. Varying thickness also helps create natural light and shadow, making the artwork more visually interesting.
Overworking the Surface
Beginners often keep adjusting the surface after applying the texture, hoping to make it “perfect.” However, overworking can easily ruin the natural look and make the surface appear muddy or over-smoothed. Once the texture is applied and shaped, it’s better to stop early and let the material speak for itself, including small imperfections that add character.
Using Too Much Water
Adding too much water to the paste or plaster can weaken its structure. This may lead to poor adhesion, cracking after drying, or a loss of firmness in the texture. It’s best to keep the mixture thick and only add small amounts of water when absolutely necessary for smoother application.
Rushing the Drying Process
Another mistake is not allowing enough drying time. Thick texture layers need time to fully cure, not just dry on the surface. Painting or moving the canvas too early can cause dents, cracks, or long-term damage. Always let the artwork dry naturally and avoid using heat to speed up the process.
FAQ
Q: Why does my textured art crack after drying?
A: A frequent discussion point is “too much water or rushing the drying process.” If the paste is diluted or not fully cured before painting, it can shrink and crack later.
Q: What’s the best material for beginners?
A: Many DIY artists recommend starting with acrylic modeling paste or joint compound because they are easy to shape, affordable, and beginner-friendly compared to professional plaster.
Q: How do you make textured art look more professional?
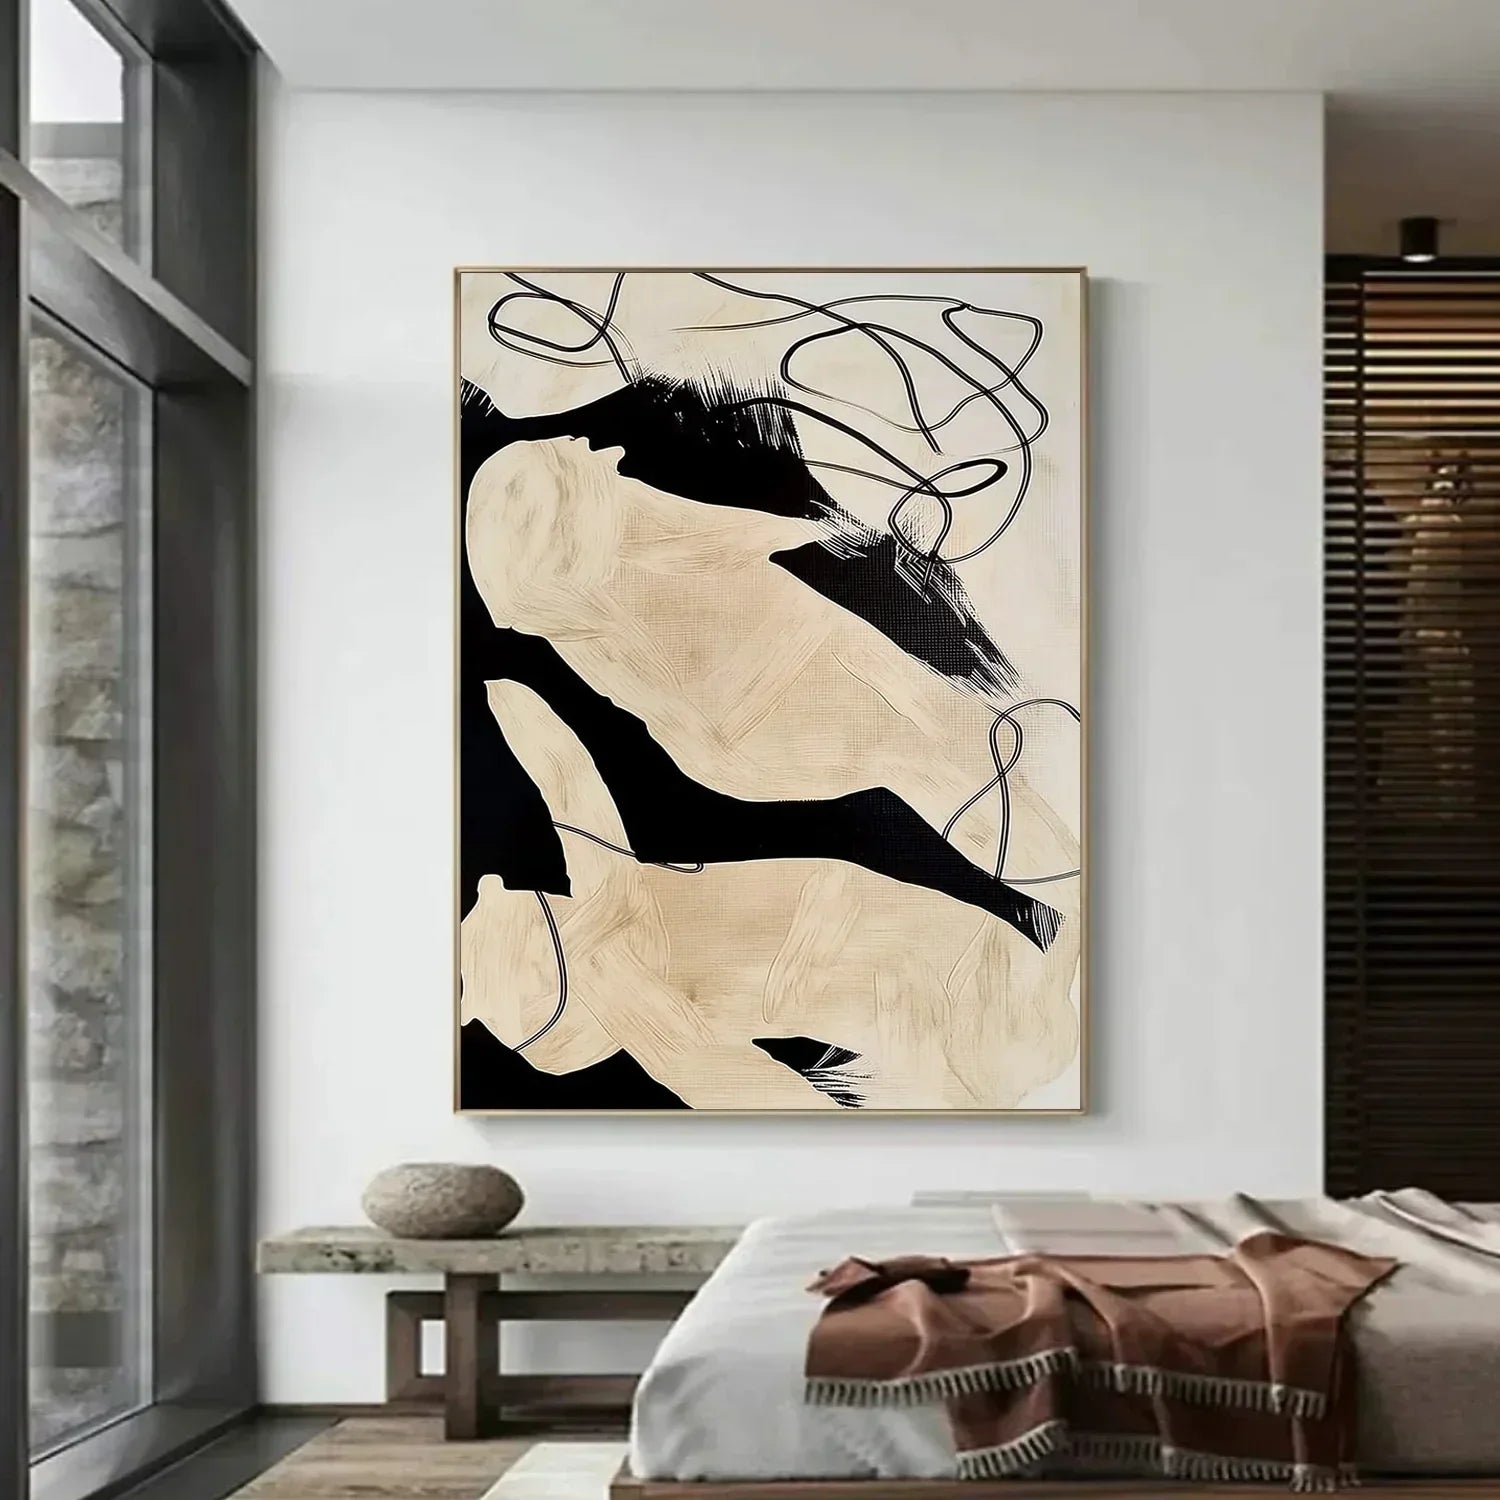
A: A common tip is to focus on composition and negative space. Reddit creators often suggest keeping designs simple, using neutral tones, and letting texture—not color—be the main focus.
Final Thoughts
Learning how to make textured art on canvas is easier than many beginners expect. With a few simple materials and some creativity, you can create modern artwork that feels personal, stylish, and unique.
The beauty of textured art lies in its imperfections. Every layer, ridge, and curve adds character to the final piece.
Start simple, experiment with different techniques, and most importantly, enjoy the creative process. Over time, you will develop your own style and discover what textures and designs inspire you most.
Whether you want to decorate your home, start a creative hobby, or even create artwork to sell, textured canvas art is an accessible and rewarding place to begin.
Related:


Leave a comment
This site is protected by hCaptcha and the hCaptcha Privacy Policy and Terms of Service apply.