

Textured wall art has become one of the most popular home decor trends in recent years. From minimalist plaster paintings to bold abstract canvas art, textured artwork brings depth, warmth, and character that flat paintings simply can't achieve.
Getting started is much easier than many beginners expect. You don't need professional art skills or a large budget to create beautiful textured pieces at home. With just a few basic materials and the right techniques, you can make artwork that looks stylish and unique.
In this beginner-friendly guide, we'll walk you through the essential DIY textured art materials, explain what each one is used for, recommend budget-friendly alternatives, and help you avoid spending money on supplies you don't actually need.
Why You Don’t Need Fancy Materials to Start
A lot of beginners think textured art requires professional tools or expensive supplies, but the truth is that most of the visual impact comes from how you apply texture rather than what brand you use, which means if you have a few basic materials and understand how they work together, you can already create very good-looking artwork.
In fact, starting simple is better because it helps you focus on learning:
- how texture paste behaves when it dries
- how palette knives create different surface effects
- how acrylic paint reacts on uneven surfaces
- how layering builds depth over time
So instead of buying everything at once, you only need a small starter set that lets you practice freely without pressure.
Essential DIY Textured Art Materials
1. Canvas
The canvas is simply the surface you paint on, and for beginners, the easiest option is a pre-stretched and pre-primed canvas because it is ready to use immediately without extra preparation, so you can directly start applying texture paste and paint without worrying about preparation steps.
The most practical sizes for beginners are usually medium sizes like 12×16 inches, 16×20 inches, or 18×24 inches, because they are large enough to show texture clearly but still manageable when you are learning control and composition.

2. Texture Paste
Texture paste is the material that actually creates the raised, three-dimensional surface in your artwork, and without it, your painting will stay flat, so this is the most important supply in textured art.
For beginners, modeling paste is usually the easiest choice because it spreads smoothly, holds its shape well when you sculpt it, dries into a solid white surface, and works perfectly with acrylic paint afterward, and while there are many types like heavy gel or professional-grade pastes, you don’t need them at the beginning because basic modeling paste already gives excellent results.

3. Acrylic Paint
Acrylic paint is used after your texture dries, and it is the best option for beginners because it dries fast, sticks well to texture paste, and allows you to layer colors easily without waiting too long between steps, which makes the whole creative process much smoother.
At the beginning, you don’t need a large color set, and a small basic palette like white, black, beige, brown, and a few warm neutral tones is already enough because textured art often looks best in simple, calm colors rather than very bright ones.

4. Palette knives
Palette knives are the tools you use to apply and shape texture paste, and they are actually more important than brushes in textured art because they allow you to create different surfaces just by changing angle, pressure, and movement.
With palette knives, you can create smooth curves, sharp edges, layered ridges, or soft organic shapes, and for beginners, it is enough to have a small set with different sizes so you can experiment and see what kind of texture style feels most natural to you.

5. Putty Knife
A putty knife is not an art-specific tool, but many textured art creators use it because it is larger, more flexible, and great for covering bigger areas quickly, which makes it especially helpful if you want to create minimal, modern-style textured paintings with clean and smooth surfaces.

6. Mixing Surface
You will also need something to mix paint and texture paste on, and this can be a simple plastic palette, a disposable paper palette, or even a ceramic plate, as long as it gives you enough space to mix materials without making a mess.

7. Spray Bottle
A simple water spray bottle might seem unimportant, but it actually helps a lot because it keeps your texture paste from drying too quickly, makes it easier to adjust consistency while working, and helps you smooth out areas when needed, especially during longer painting sessions.
 8. Sandpaper
Once your textured layer is completely dry, you may notice small uneven areas, and fine-grit sandpaper can be used very lightly to smooth those imperfections without destroying the texture, which helps make the final surface feel more polished and professional.

9. Brushes
Even though texture is mainly created with knives, brushes are still important because they are used for painting color over the dried surface, adding gradients, and refining details, and for beginners, a basic set of flat and round brushes is more than enough.

10. Basic Protection Supplies
Since textured art can get messy, it is a good idea to have a few simple protective items like gloves, paper towels, a cloth or plastic cover for your table, and an apron, so you can focus on creating without worrying about cleanup.

The DIY Textured Art Materials List
Must-Have Materials
These are the non-negotiables. Without these, you can’t really make textured art. With them, you can make a complete project.
| Material | Why You Need It | Budget Tip |
|---|---|---|
| Canvas or Wood Panel | Your base. Canvas stretches, wood stays rigid. Either works. | Buy budget canvases from dollar stores or use old cardboard. |
| Heavy Body Acrylic Paint | Thicker than standard acrylics, holds peaks and ridges better. | Student-grade heavy body paint is fine. You don’t need professional artist brands. |
| Palette Knives | Your primary tool for spreading and sculpting texture. | Start with one small and one large plastic or metal knife ($5 total). |
| Modeling Paste or Texture Gel | This is your texture secret weapon. Mix it with paint to create bulk without using tons of expensive paint. | Buy a small jar—a little goes a long way. |
| Brushes (Stiff Bristle) | Soft brushes won’t move heavy texture. Get stiff synthetic or hog-bristle brushes. | A 3-pack of cheap stiff brushes works great. |
| Water Container & Rag | For cleaning tools and wiping mistakes. | Any old jar and an old T-shirt cut into rags. |
Nice-to-Have Materials
Once you’ve made a few pieces, you’ll want to experiment with different textures. These items give you more variety without breaking the bank.
| Material | What It Does | Where to Find It |
|---|---|---|
| Joint Compound (Drywall Mud) | Cheap, ultra-smooth, and dries rock-hard. Mix it with paint for massive texture on a budget. | Hardware stores—a gallon costs less than $10. |
| Pumice Gel or Sand | Adds grit and grainy texture—perfect for landscapes or rustic looks. | Art supply stores or even fine sand from a craft store. |
| Plastic Wrap or Wax Paper | Press it into wet texture to create crackle or wrinkle effects. | Your kitchen drawer. |
| Rollers with Patterns | Creates repetitive, even textures (like lace or geometric patterns). | Craft stores or online for under $10. |
| Spray Bottle with Water | Keeps your texture workable longer and helps with blending. | Any old spray bottle—use it to mist your palette. |
Fun Extras
These are the “wow” materials that make your art stand out. Not required, but incredibly fun.
| Material | Effect |
|---|---|
| Coffee Grounds or Crushed Eggshells | Adds organic, natural texture. Dry them first so they don’t rot. |
| String or Yarn | Lay it into wet medium for linear texture. |
| Gold or Silver Leaf | Adds metallic accents over dried texture. |
| Glitter or Microbeads | For shimmer and sparkle. Use sparingly—a little goes far. |
| Old Credit Cards or Scrapers | Perfect for making combed or striped patterns in wet material. |
How to Mix and Apply Your Texture Materials
Now that you have your list, here’s a beginner-friendly workflow:
Prep your base
If using canvas, give it a thin layer of gesso (optional but helps paint stick). For wood, sand it lightly first.
Mix your texture base
Combine 1 part acrylic paint with 2 parts modeling paste (or joint compound) in a small cup. Stir well. Add sand or pumice now if you want grit.
Apply with a palette knife
Scoop a dollop onto your canvas and spread it using the flat side of the knife. Think of it like frosting a cake—you’re building height.
Create patterns
Use the edge of the knife, a fork, or even a toothpick to drag lines through the wet material. Work quickly—acrylics dry fast.
Let it dry completely
This can take 24–48 hours depending on thickness. Don’t rush it.
Add final paint layers
Once dry, you can dry-brush a lighter color over the peaks for a highlighted effect, or glaze a darker tone into the valleys for shadow.

Common Beginner Mistakes
- Using too much water.Water thins acrylics and makes texture collapse. Use a spray mist only when absolutely needed.
- Applying too thick, too fast. Heavy texture can crack as it dries. Build up in layers—let each layer partially dry before adding the next.
- Forgetting to clean tools immediately. Dried texture material is a nightmare to remove. Rinse your knives and brushes within minutes of finishing.

FAQ
What is the best texture paste for beginners?
Modeling paste is generally the best choice for beginners because it is easy to spread, holds its shape well, dries to a solid finish, and works with almost any acrylic paint. It is also forgiving if you make mistakes, making it ideal for learning basic textured art techniques.
Can I use joint compound instead of modeling paste?
Yes. Many DIY artists use lightweight joint compound as a budget-friendly alternative because it creates thick texture at a much lower cost. However, it is usually less durable than artist-grade modeling paste, so it's a good idea to seal the finished artwork with a varnish or acrylic sealer if you plan to display it long-term.
Do I need special paint for textured art?
No. Regular acrylic paint is the most common choice for textured art because it dries quickly, adheres well to textured surfaces, and comes in a wide range of colors. Oil paint can also be used, but it takes much longer to dry and is generally not recommended for beginners.
What size canvas is best for your first textured art project?
A medium-sized canvas, such as 16 × 20 inches or 18 × 24 inches, is usually the best starting point because it gives you enough space to practice different texture techniques without feeling overwhelming or using too much material.
Final Thoughts
Getting started with DIY textured art is actually much easier than it looks, because you don’t need a large collection of expensive tools or professional experience, and as long as you have a canvas, texture paste, acrylic paint, and a few simple tools like palette knives and brushes, you can already begin experimenting and creating real artwork.
The most important thing is not to overthink the materials, but to start simple, practice often, and gradually explore different textures and techniques as you become more confident.
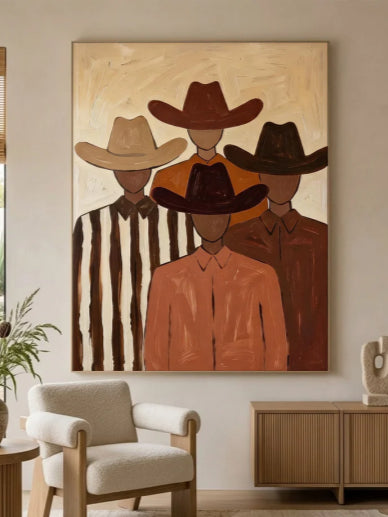
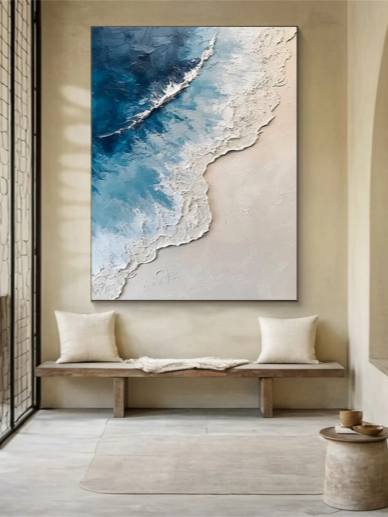
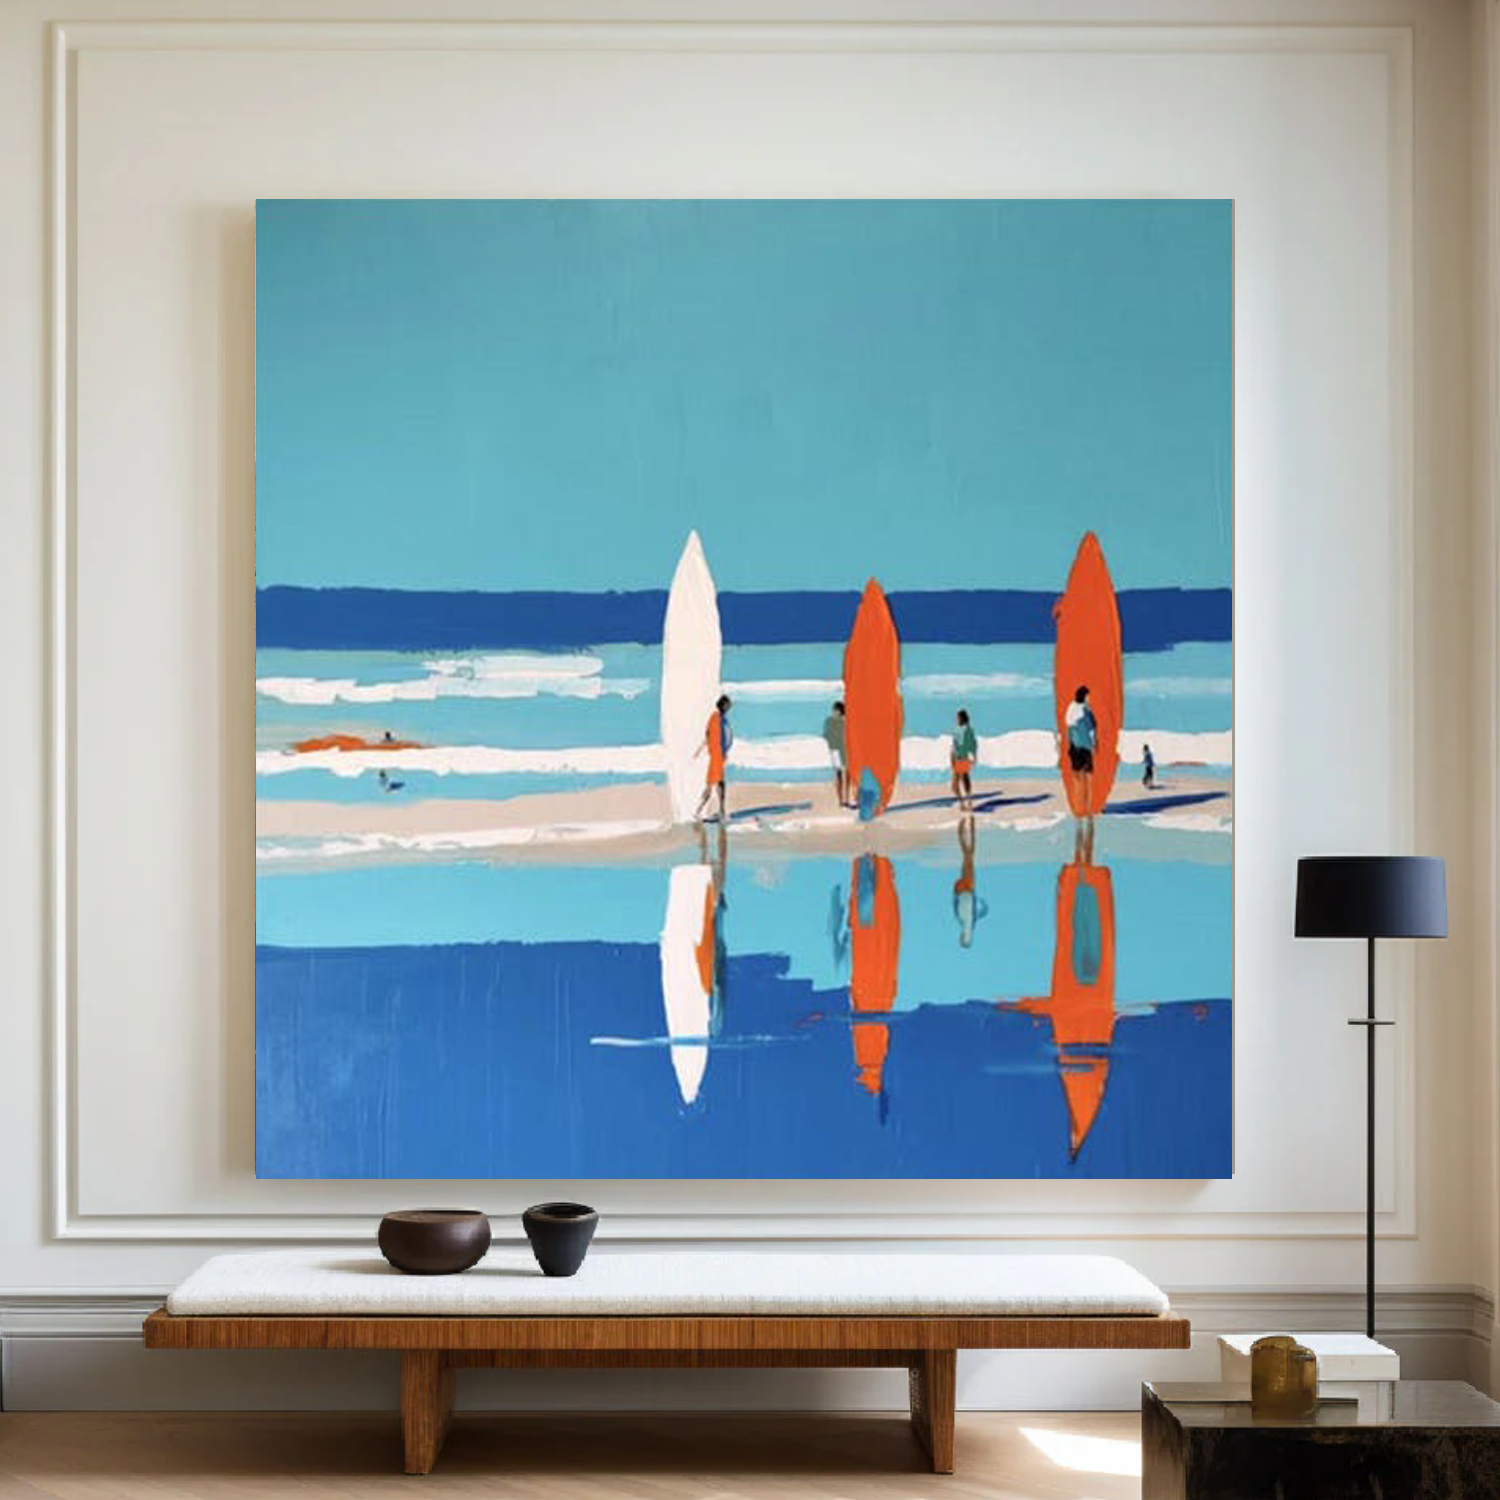
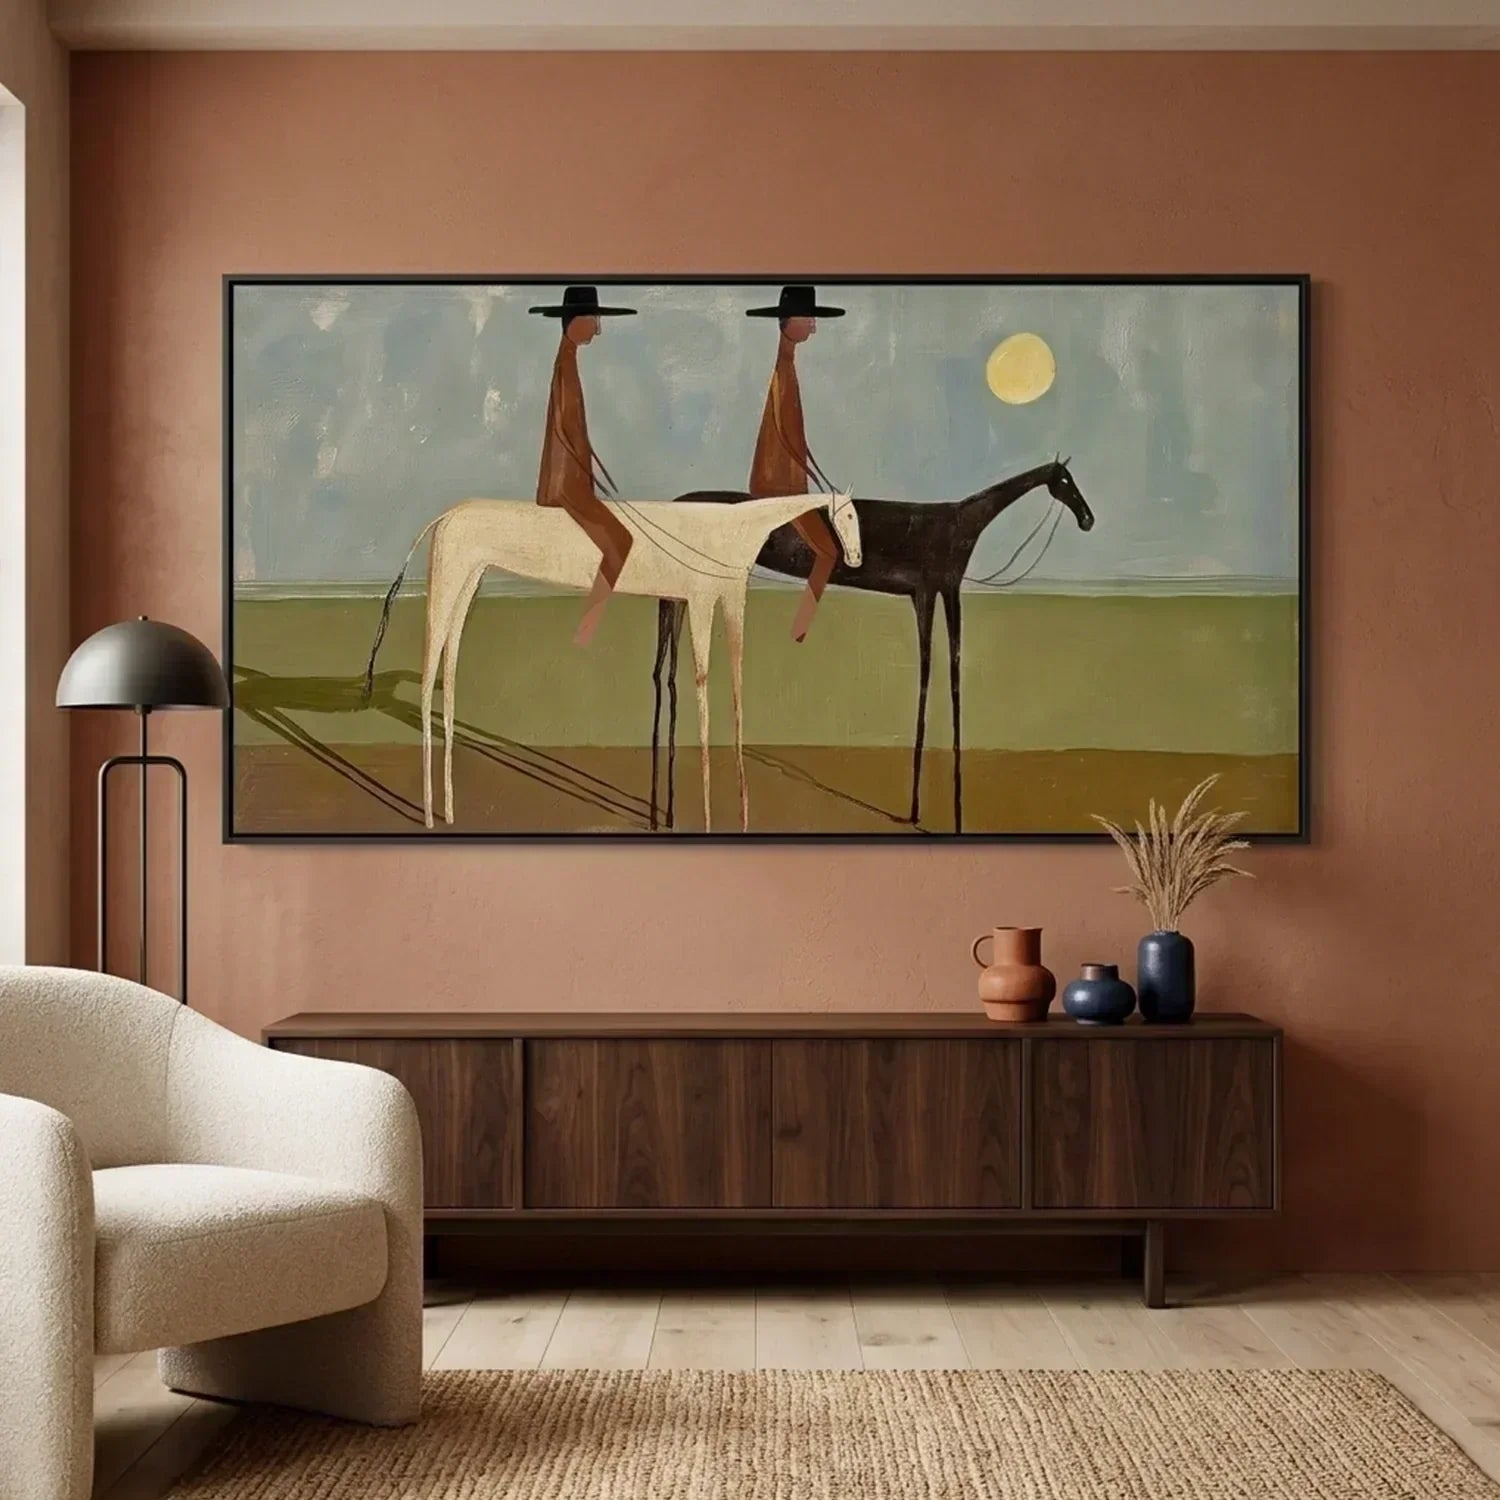
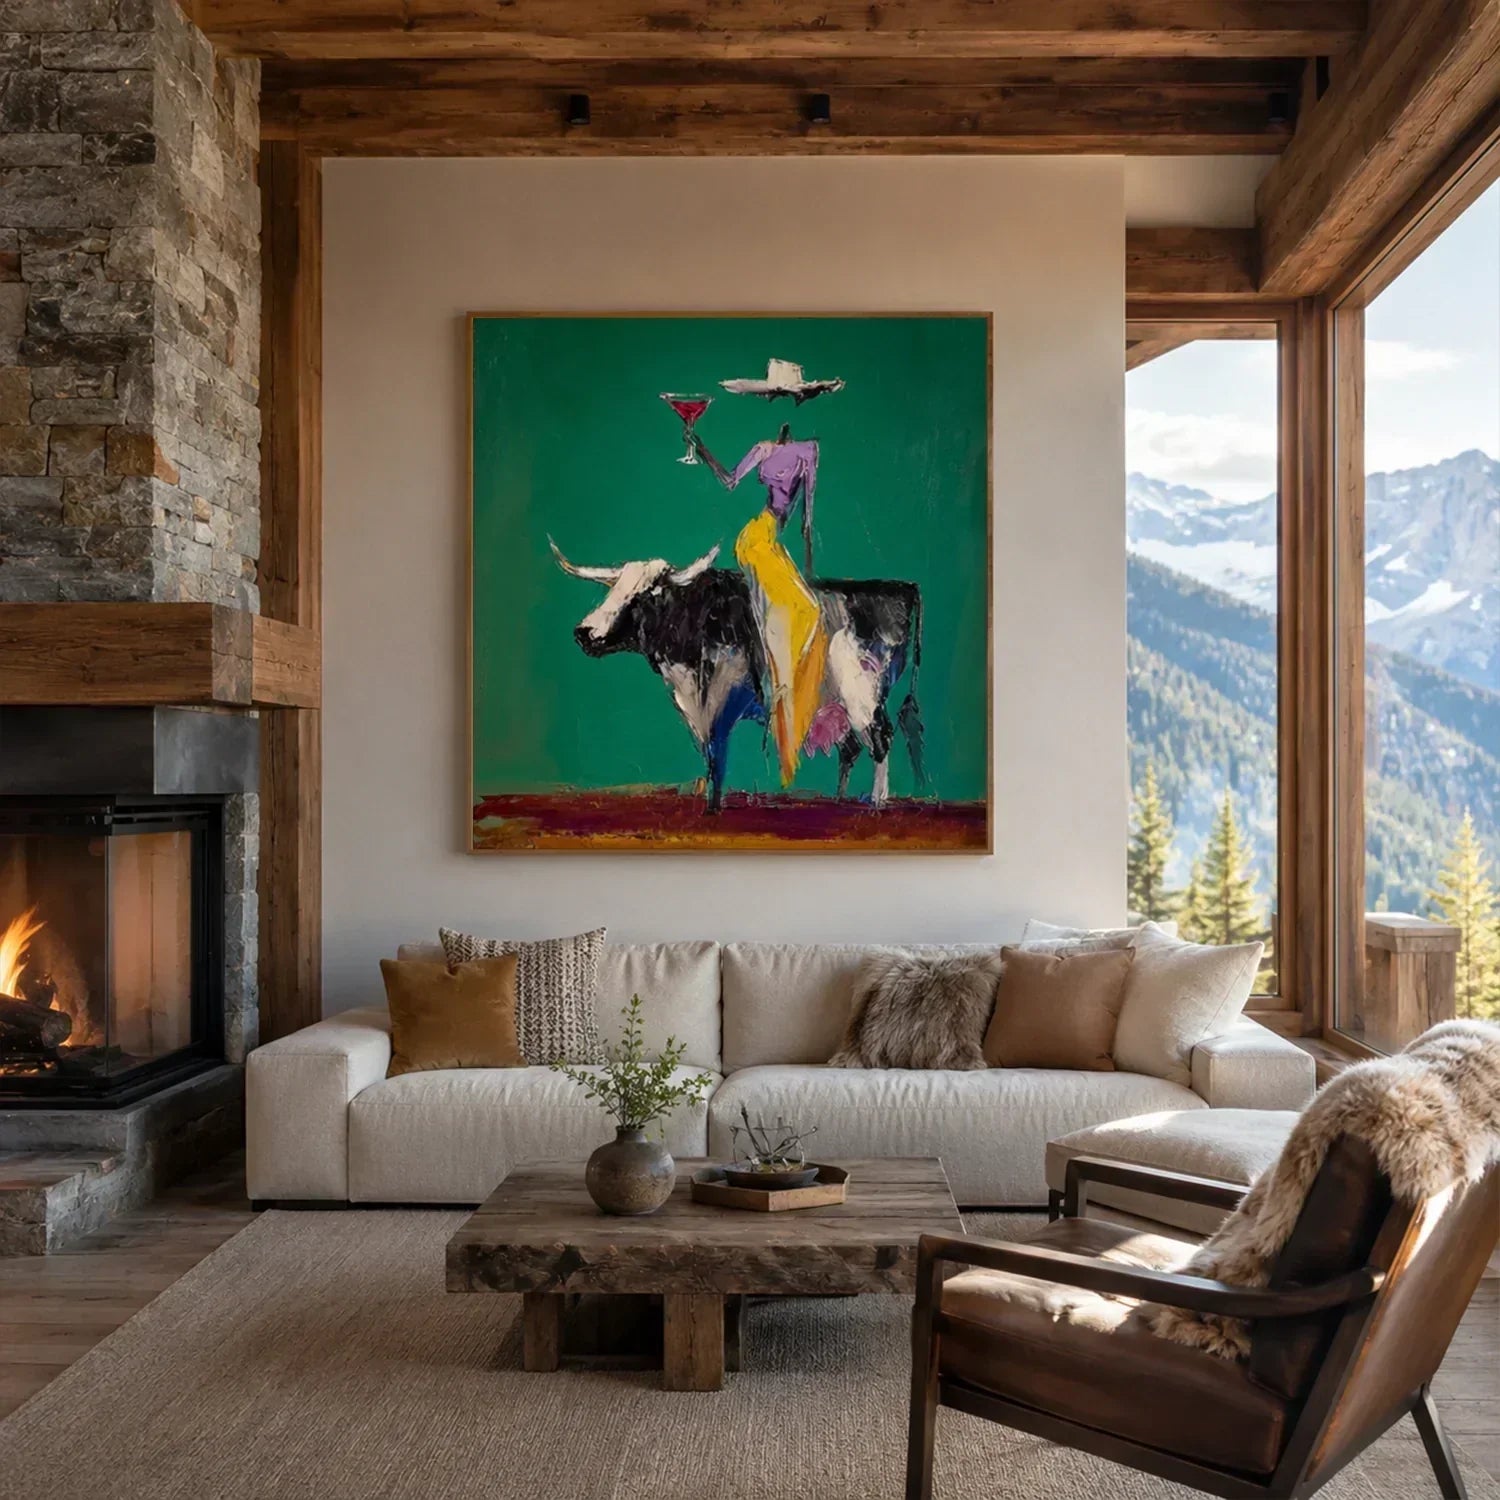
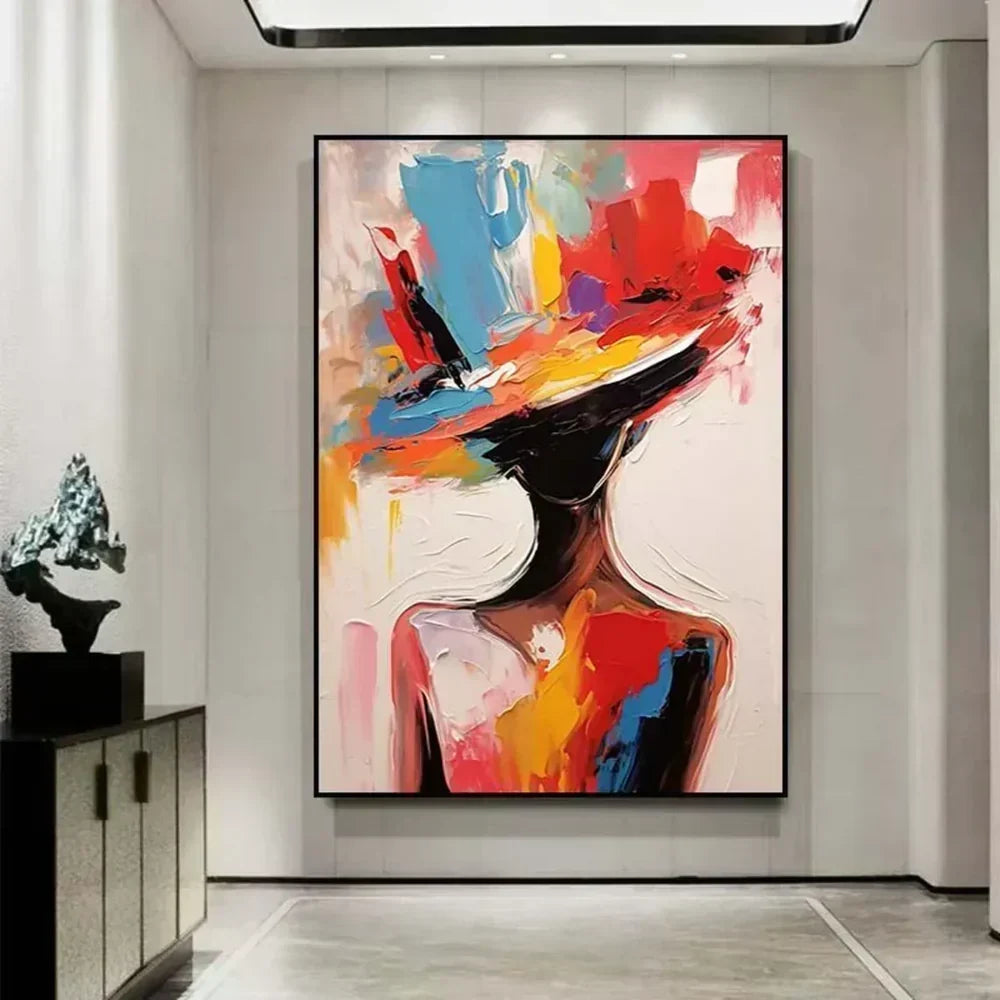
If you're looking for inspiration before starting your next project—or want to see how professional artists use texture to create modern, gallery-quality pieces—you can explore the handcrafted collections at Eleanos Gallery. From minimalist plaster artwork to contemporary textured canvas paintings, browsing finished pieces can spark new ideas and help you discover styles, color palettes, and techniques to try in your own DIY creations.


Leave a comment
This site is protected by hCaptcha and the hCaptcha Privacy Policy and Terms of Service apply.