
How to Hang Wall Art Without Nails? 8 Damage-Free Decorating Methods
Whether you’re living in a rental apartment trying to save your security deposit or you just can’t stand the thought of drilling into your pristine drywall, you’re in luck. The days of needing a hammer and nails to personalize your space are over.Hanging wall art without nails is not only possible—it’s actually the preferred method for many DIYers today. Here is a guide to the best damage-free methods to turn your blank walls into a gallery, minus the holes.

Why Go Nail-Free?
Before we get into the “how,” here’s why more people are skipping nails altogether:
- Renter-friendly: Avoid losing your security deposit
- No wall damage: Ideal for drywall, tile, glass, or wallpaper
- Easy to reposition: Change layouts anytime without patching holes
- Cleaner aesthetic: No visible hardware or marks
8 Creative Ways to Hang Wall Art Without Nails
1. Command Strips: The Renter’s Gold Standard
3M Command Picture Hanging Strips use interlocking “dual-lock” technology to hold frames more securely than Velcro, and a set of four large strips supports up to 16 pounds—plenty for most standard frames—but the real secret is cleaning the wall with rubbing alcohol first, since skipping that step is the number one reason art ends up on the floor.
2. Adhesive Hooks for Wire-Backed Art
If your frame already has a wire or sawtooth hanger, an adhesive hook from Command or Gorilla offers a quick solution in finishes like brushed nickel or oil-rubbed bronze, though for wider frames you should use two hooks to keep the piece level and distribute the weight evenly.
3. Heavy-Duty Mounting Tape for Flat-Backed Items
For foam board prints, lightweight wooden signs, or acoustic panels that sit flush against the wall, double-sided mounting tape works beautifully—just avoid “permanent” versions, which can peel drywall paper, and instead look for “removable” or “poster” tape for temporary setups.
4. Magnetic Hardware for Metal Surfaces
If you live in a loft with exposed steel beams or have metal doors, heavy-duty magnetic hooks snap on without any residue or tools, but this only works if your wall is actually magnetic—so test it with a small fridge magnet first, and if it sticks, you’ve effectively won the renter lottery.
5. Tension Rods as a Creative Gap Solution
By placing a tension rod between two opposite walls or inside a deep window frame and using S-hooks or clips, you can hang lightweight art or tapestries with zero wall contact—making this ideal for kids’ artwork, fabric hangings, or a rotating gallery of postcards in an awkward alcove.
6. Washi Tape for a Minimalist Aesthetic
Washi tape, a low-tack decorative paper tape available in countless colors and patterns, works perfectly for art prints, unframed posters, or polaroids—especially if you lean into its look by creating a faux “frame” around your print instead of trying to hide the tape entirely.
7. Picture Rails for Historic Charm
Many older U.S. homes already have picture rail molding near the ceiling, allowing you to use a simple hook and hanging wire without ever touching the wall; even if your apartment lacks original molding, you can mimic the effect with over-the-door hooks or tension-based rail systems designed for modern renters.
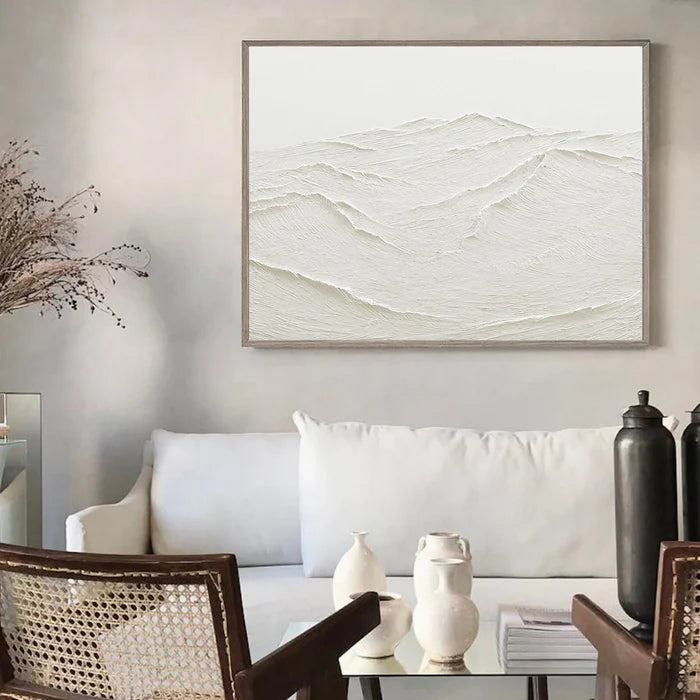
8. The “No-Hang” Gallery: Just Lean It
The leaning aesthetic has become a staple of modern interior design, and it works by resting oversized canvases directly on a mantel, bookshelf, or sideboard—using a bit of museum wax or a non-slip pad on the bottom edge to prevent sliding, while the furniture bears the weight instead of the wall.

How to Hang Heavy Wall Art Without Nails
1. Heavy-Duty Adhesive Hangers (Best for 10–20 lbs)
If your art weighs between 10 and 20 pounds, heavy-duty adhesive hangers like Command Pro hooks are your best bet. They support up to 16 pounds per set, but success depends on your wall surface—smooth painted drywall works great, while textured or freshly painted walls do not. Clean the wall with rubbing alcohol, apply strips to the back of your frame, press firmly, and wait a full hour before hanging.

2. The Tension Rod + Shelf Hack (Best for 20–50 lbs)
Once you cross the 20-pound threshold, adhesives alone become risky. Instead, install a heavy-duty tension rod between two walls or inside an alcove, then place a narrow shelf on it so the art rests on the shelf while the rod bears the weight. High-quality rods support up to 50 pounds, and when you move out, everything comes down in minutes with no residue.

3. Leaning Displays (Unlimited Weight)
Sometimes the safest way to “hang” heavy art is to not hang it at all—just lean it against the wall on a console table, bookshelf, or sideboard. The furniture bears the weight, so this works for any size piece. Add anti-slip pads to the bottom corners to prevent sliding, and layer smaller frames in front for depth.
This method isn't a hack—it's a legitimate design style. Interior designers call it “casual layering,” and it looks effortlessly chic when done right. Lean one large piece, then layer smaller frames in front for depth. Add a vase or sculpture to anchor the arrangement.

4. The Hybrid Approach
Here’s a secret pros use: combine methods. For a 25-pound piece, use a tension rod shelf to hold most of the weight and small adhesive hooks at the top to prevent tipping. That way, even if one method fails, the other has your back.

The Step-by-Step Process for Hanging Art Walls
After purchasing the artwork at eleanosgallery, to ensure your art stays up and your walls stay safe, follow this simple logic:
Regardless of which method you choose, follow this sequence:
- Step 1: Weigh your art. Don’t guess. A 24″ x 36″ framed mirror can weigh 15–25 pounds depending on the frame and glass.
- Step 2: Check your wall. Run your hand over it. Is it smooth? Textured? Freshly painted? Recently cleaned with furniture polish? All of these affect adhesion.
- Step 3: Clean the surface. Rubbing alcohol and a lint-free cloth. Let it dry. This is not optional.
- Step 4: Mark placement. Use a level and pencil. You’ll thank yourself later.
- Step 5: Apply adhesive (if using). Press firmly for 30 seconds. Then wait—at least an hour, ideally 24 hours—before hanging the weight.
- Step 6: Test before trusting. Gently tug downward. If anything shifts, reinforce or reconsider.
- Step 7: Inspect monthly. Yes, monthly. Adhesives can degrade over time, especially in humid or hot rooms. A quick check every few weeks prevents crashes.
Quick FAQ
Q: Do these methods work on wallpaper?
A: Generally, no. Most adhesives can tear the wallpaper during removal. Stick to "leaning" art for wallpapered rooms.
Q: Can I use these in a humid bathroom?
A: Look for "Water-Resistant" versions of adhesive strips. Standard strips may lose their grip due to steam and moisture.
Q: How do I remove them without peeling paint?
A: For Command-style strips, pull the tab slowly and straight down against the wall. Never pull it toward you or away from the wall.
Final Thoughts
You don't need a toolbox to make a house feel like a home. By using high-quality adhesives and a little bit of patience, you can create a stunning gallery wall that looks professional and stays hole-free. When it’s time to move out or redecorate, you simply pull the tabs and walk away with your security deposit intact!
Further Reading:
How to Arrange Wall Art in Every Room: A Designer’s Guide to Pro-Level Hanging
How to Master Black Wall Paint in Your Home: 6 Bold Design Ideas
Read more
How to Arrange Wall Art in Every Room: A Designer’s Guide to Pro-Level Hanging
In this guide, you’ll learn not only how to arrange wall art, but also how to choose the right pieces, match them to your space, and adapt layouts for different walls in your home—all based on prin...
Read more
How High to Hang Wall Art: The "Golden Rule" for a Perfect Home
Stop guessing! Learn exactly how high to hang wall art with the 57-inch rule. Plus, pro tips for hanging art above sofas, beds, and creating gallery walls.
Read more